 Save
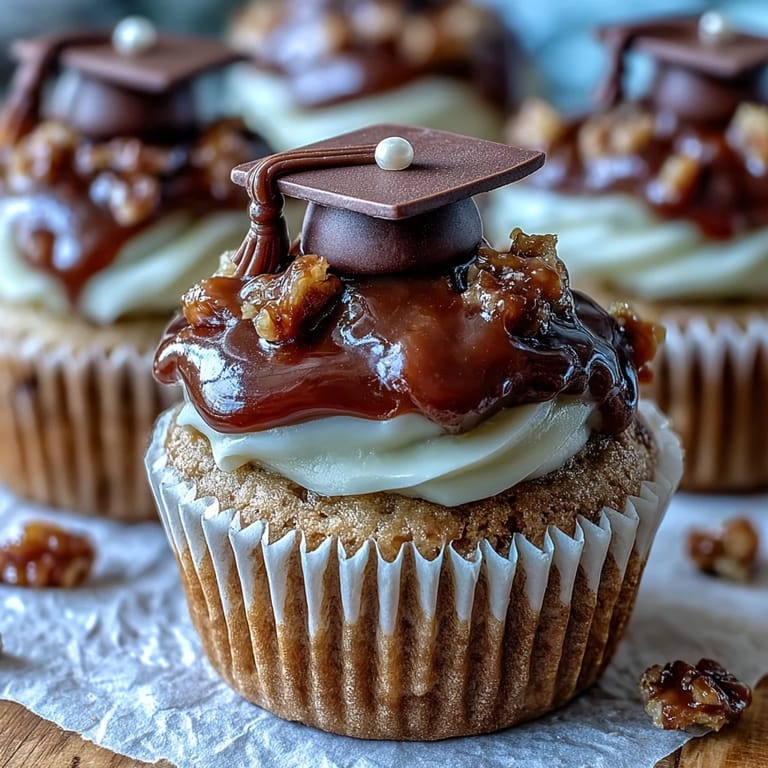
Save My sister called me three weeks before her graduation asking if I could bring something to her party, and without thinking, I blurted out that I'd make cupcakes with little graduation caps on top. The panic set in about five seconds later—I'd never made edible toppers before, but then I realized it didn't have to be complicated. These cupcakes came together so naturally after that, and watching my sister's face light up when she saw them made every anxious moment worthwhile.
I'll never forget standing in the kitchen the morning of the party, carefully placing each candy cap on its frosted cupcake while my mom offered running commentary about whether they looked "official enough." By the time she tried one and got frosting on her nose, we were both laughing so hard we almost knocked over the last two.
Ingredients
- All-purpose flour: The foundation of tender cupcakes; make sure to measure by spooning and leveling, not scooping straight from the bag, which packs it down.
- Granulated sugar: Creates the structure and sweetness; don't skip creaming it properly with the butter or your cupcakes will be dense.
- Unsalted butter: Softened butter incorporates air when creamed, making everything light and fluffy; cold butter won't work the same magic.
- Eggs: Room temperature eggs blend in smoothly and help bind everything together; cold ones can make the batter look curdled.
- Whole milk: Adds moisture without heaviness; it's the secret to keeping these cupcakes tender rather than dry.
- Baking powder: The leavening agent that gives you that perfect dome; don't use baking soda as a substitute.
- Vanilla extract: Pure vanilla makes a noticeable difference in flavor compared to imitation, so it's worth the splurge here.
- Powdered sugar: Sifted before measuring ensures smooth, lump-free frosting; lumpy frosting spreads unevenly and looks amateurish.
- Mini peanut butter cups: The base of your graduation cap that doubles as the mortarboard; use chocolate squares if serving anyone with nut allergies.
- Chocolate square candies: Creates the distinctive flat cap shape; Ghirardelli or similar quality candies work beautifully.
- Licorice or sour candy strips: The tassel that brings the whole cap to life visually; pick something flexible enough to drape naturally.
- Mini M&Ms or candy pearls: The tiny button detail that makes each cap look authentic and adds a pop of color.
Tired of Takeout? 🥡
Get 10 meals you can make faster than delivery arrives. Seriously.
One email. No spam. Unsubscribe anytime.
Instructions
- Set up your station:
- Preheat your oven to 350°F and line your muffin tin with paper liners; this step sounds simple but skipping it means cupcakes that stick or bake unevenly.
- Cream the butter and sugar:
- Beat them together for about three minutes until the mixture looks pale and fluffy, almost like soft clouds. This is where the magic happens—you're incorporating air that will make your cupcakes light and tender.
- Add eggs and vanilla:
- Beat in each egg one at a time, waiting a moment between additions so everything blends smoothly. The vanilla goes in last and should smell absolutely wonderful.
- Combine dry ingredients:
- Whisk together your flour, baking powder, and salt in a separate bowl so they're evenly distributed throughout the batter. This prevents pockets of baking powder that would taste bitter.
- Alternate wet and dry:
- Add half the flour mixture to the butter mixture, stir gently, then pour in the milk, then add the remaining flour. Mixing this way ensures you don't overwork the batter, which would make the cupcakes tough.
- Fill the liners:
- Divide the batter evenly among the twelve liners using a spoon or ice cream scoop; this ensures even baking and consistent sizes.
- Bake until golden:
- Bake for eighteen to twenty minutes until a toothpick inserted in the center comes out clean or with just a few crumbs. Your kitchen should smell like vanilla and butter—that's your cue that they're almost done.
- Cool completely:
- Let the cupcakes cool in the pan for five minutes, then turn them out onto a wire rack until they reach room temperature. Frosting warm cupcakes will make the frosting melt and look runny.
- Make the frosting:
- Beat the softened butter until it's smooth and pale, then gradually add the powdered sugar so you don't cloud your kitchen with sugar powder. Add milk, vanilla, and salt, then beat until fluffy enough to spread smoothly.
- Frost the cupcakes:
- Using a spoon or piping bag, create a generous swirl of frosting on each cooled cupcake; this gives you a nice base for the caps to sit on.
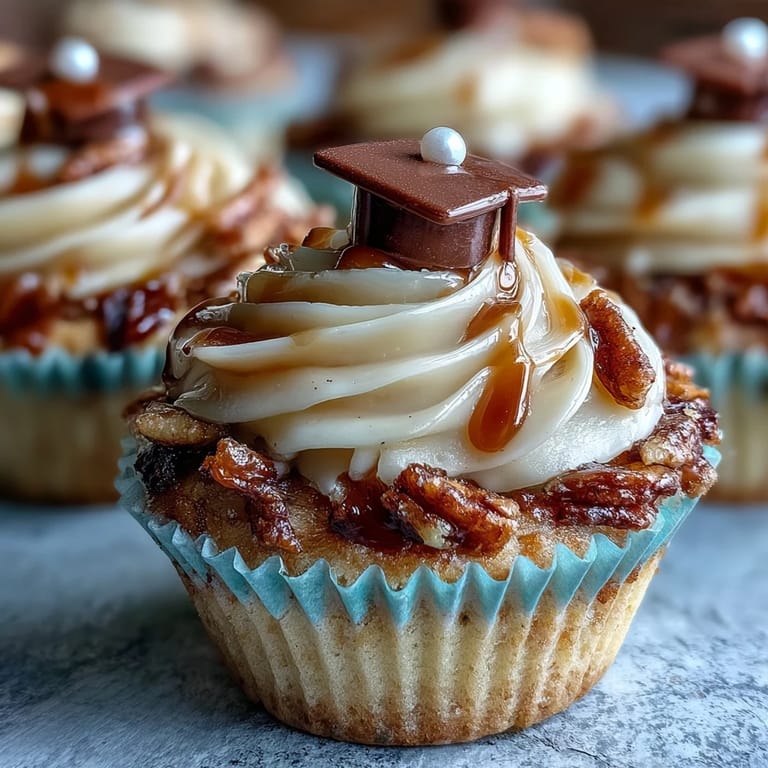
- Assemble the graduation caps:
- Place each chocolate square candy flat-side up, then use a tiny dab of melted chocolate or frosting to attach an upside-down mini peanut butter cup in the center. Add the licorice tassel and top with a mini M&M or pearl as the button.
- Let the toppers set:
- Give the assembled caps a few minutes to set firm so they don't slide around when you place them on the cupcakes. Patience here prevents last-minute disasters.
- Crown your cupcakes:
- Place each graduation cap topper carefully on top of a frosted cupcake, pressing gently so it stays put without squishing the frosting.
 Save
Save What struck me most wasn't the compliments on how cute they looked, but watching the graduates pick them up carefully, not wanting to disturb the caps, like they were tiny edible works of art. That moment made me realize that celebration food is about more than flavor—it's about creating something special enough to remember.
Customizing for Your Celebration
The beauty of these cupcakes is how adaptable they are to any occasion or preference. You can tint the frosting to match your school colors by adding a few drops of gel food coloring while beating it, and the amount you need is always less than you'd expect, so add gradually and stop when it looks right.
Handling Allergies and Dietary Needs
If you're making these for a group with nut allergies, simply swap the peanut butter cups for extra chocolate squares or any other nut-free candy that's flat enough to serve as a mortarboard. The rest of the recipe stays exactly the same, and honestly, no one will notice the difference because the focus will be on how adorable the caps look.
Storage and Timing Tips
These cupcakes stay fresh at room temperature in an airtight container for up to two days, which means you can bake them the day before your event if that takes pressure off your schedule. The toppers are best added a few hours before serving so they don't absorb moisture from the frosting, but the cupcakes themselves actually taste better after sitting overnight.
- Make the toppers while your cupcakes cool so assembly moves quickly when you're ready to frost.
- If your kitchen is warm, keep unfrosted cupcakes in the fridge until you're ready to decorate them.
- Have extra candies on hand in case a topper doesn't cooperate or you want to add a few backup caps.
 Save
Save These cupcakes have a way of turning a milestone moment into something touchable and sweet—literally and figuratively. Make them with joy, and they'll taste like celebration.
Recipe FAQs
- → How do I make the edible graduation caps?
Use chocolate square candies as the base, attach mini peanut butter cups upside down, then add a licorice tassel and a mini candy or pearl as the button using melted chocolate to secure all parts.
- → Can I make these cupcakes nut-free?
Yes, replace peanut butter cups with chocolate squares to avoid nuts and ensure all candies used are nut-free.
- → What is the best way to store these cupcakes?
Store in an airtight container at room temperature for up to two days to maintain freshness and texture.
- → Can I add colors to the frosting?
Yes, food coloring can be added to the buttercream to match your preferred theme or colors.
- → How long should I bake the cupcakes?
Bake at 350°F (175°C) for 18 to 20 minutes, or until a toothpick inserted in the center comes out clean.