 Save
Save Last November, my kitchen counter became a sculpture studio. I'd been making sourdough for years, but the day I decided to shape a loaf into a turkey changed everything. My teenagers walked in, stopped dead, and actually put down their phones to take pictures. That's when I knew this bread was something special.
My first attempt looked more like a blob with identity issues than a turkey, but my family didn't care. They were too busy fighting over who got the 'tail feather' pieces. Now it's become a tradition that has neighbors asking for weeks beforehand what I'm baking for Thanksgiving.
Ingredients
- 500 g bread flour: High-protein flour gives you that beautiful oven spring and structure to hold your turkey shape
- 350 g water (room temperature): Adjust slightly based on your flour, but 70% hydration creates that perfect balance of workability and open crumb
- 100 g active sourdough starter: Make sure it's bubbling and doubled from its last feed, otherwise you'll end up with a dense turkey
- 10 g fine sea salt: Don't cut this back, salt is crucial for flavor and strengthening the gluten structure
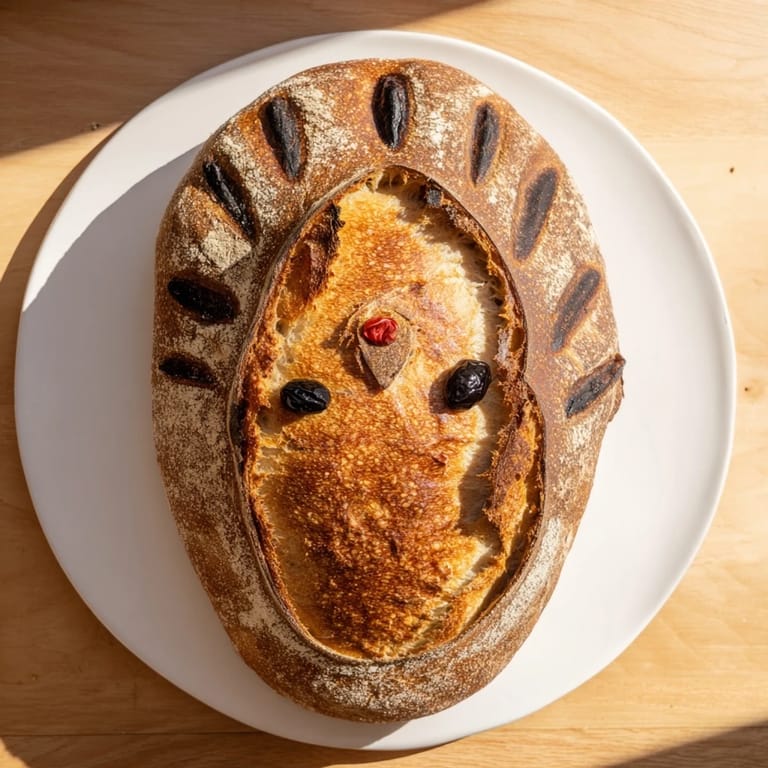
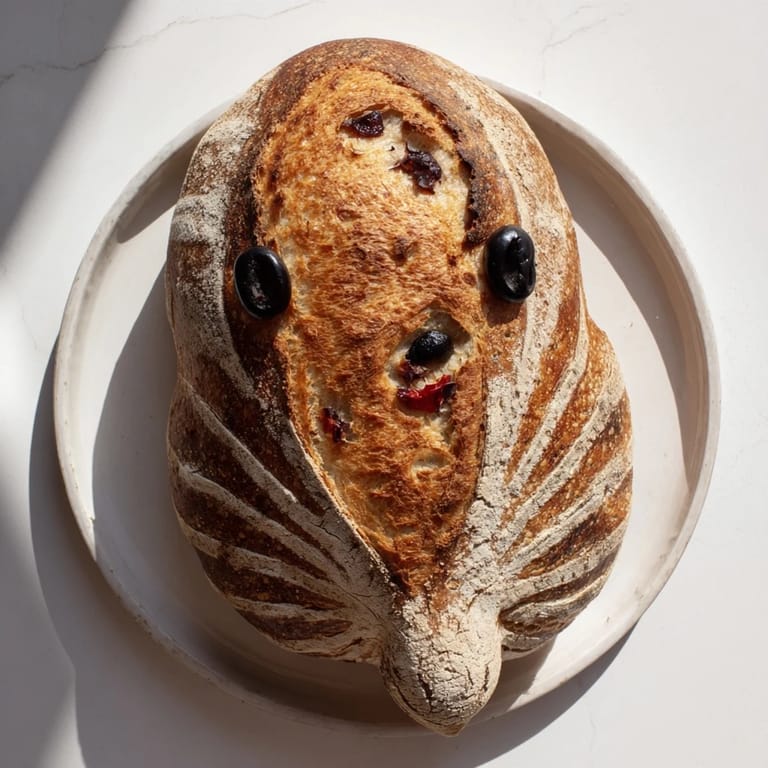
- 1–2 black olives or peppercorns: These become the eyes and honestly, the moment you add them your turkey suddenly comes alive
- 1 small piece red bell pepper: The wattle is what makes it unmistakably turkey, though extra dough works in a pinch
Tired of Takeout? 🥡
Get 10 meals you can make faster than delivery arrives. Seriously.
One email. No spam. Unsubscribe anytime.
Instructions
- Start the autolyse:
- Mix your flour and water in a large bowl until no dry flour remains, then cover and walk away for 30–45 minutes. This rest period lets the flour hydrate fully, making the next steps so much easier on your arms.
- Add the life:
- Drop in your active starter and salt, then squeeze and fold the dough until everything is incorporated. It'll look shaggy at first, but keep working it and it'll transform into a smooth, cohesive mass.
- Build strength:
- Every 30 minutes for 2 hours, grab one edge of your dough, stretch it up, and fold it over itself. Rotate the bowl and do this four times per session, watching your dough transform from slack to strong and elastic.
- Let it work:
- Cover your bowl and let it ferment at room temperature for 5–7 hours. You're looking for it to double in size and show those beautiful bubbles throughout, with a slightly domed top.
- Shape your masterpiece:
- Turn your dough onto a floured surface and divide it into one large oval for the body, a small round for the head, and several teardrop shapes for those magnificent tail feathers. Keep some flour handy, as this part gets delightfully messy.
- Assemble your bird:
- Arrange your pieces on parchment paper, using a dab of water to attach them. This is where your turkey personality emerges, so don't stress about perfection, just have fun with those feather patterns.
- Add the personality:
- Press in your olive eyes and position that wattle just so. This tiny step takes about thirty seconds but transforms your bread from 'artistic blob' to 'oh my gosh, it's actually a turkey.'
- Final proof:
- Cover your assembled turkey and let it rest for 1–2 hours until it's slightly puffy. Meanwhile, start preheating your oven at least 45 minutes before baking to get that stone screaming hot.
- Create the masterpiece:
- Score feather details with a sharp knife, brush with plant milk if you want that sheen, then slide everything onto your preheated stone. The transformation from pale dough to golden bird is absolutely magical.
 Save
Save Last year, my sister accidentally positioned the turkey's head at a rather jaunty angle, and honestly, it became the family joke. Sometimes those happy accidents make the best memories, and the bread still disappeared in record time.
Steam Secrets
That crispy restaurant-style crust comes from steam in the first 20 minutes of baking. I throw ice cubes into a preheated pan at the bottom of my oven right before sliding in the bread. The burst of steam keeps the crust soft initially, allowing maximum expansion, then transforms into that crackly gold we all love.
Timing Wisdom
Sourdough has its own schedule, and learning to read your dough matters more than watching the clock. You want those tiny bubbles covering the surface and a jiggly, fermented feel. In cooler months, I've let bulk fermentation go up to 8 hours, while summer heat might cut it down to 4.
Flavor Adventures
While this turkey is stunning plain, I've discovered that adding chopped fresh rosemary and thyme to the dough creates an herby version that pairs perfectly with holiday meals. Just knead in a couple tablespoons after your stretch and fold sessions, and you'll have everyone convinced you're a bread wizard.
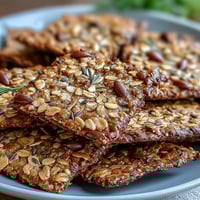
- Try mixing seeds into your feather pieces for extra texture and visual interest
- Don't be afraid to make your turkey comically large, because leftovers make phenomenal toast
- The wattle can be made from dried cranberry for a sweeter accent that stays looking great
 Save
Save There's something deeply satisfying about serving food that makes people gasp before they even take a bite. This turkey bread brings joy to the table, and isn't that what cooking is all about?
Recipe FAQs
- → How long does it take to make the turkey-shaped loaf?
The complete process takes 11–13 hours, including 30 minutes of active preparation, 5–7 hours for bulk fermentation, 1–2 hours for final proofing, and 40 minutes of baking time.
- → Can I make this vegan?
Absolutely. Skip the egg wash entirely or brush with plant milk for shine. The dough itself contains no animal products, making it naturally vegan-friendly.
- → Do I need special tools for shaping?
Basic tools include a mixing bowl, bench scraper, parchment paper, and sharp knife or lame for scoring. A baking stone or steel helps achieve optimal crust and oven spring.
- → How do I get the best feather details?
Use a sharp lame or knife to score feather patterns into the tail and wing pieces before attaching them to the body. Dust with flour for contrast and consider adding seeds for texture.
- → Can I add herbs or other flavors?
Yes. Fresh or dried herbs like rosemary, thyme, or sage can be incorporated during mixing. You can also add roasted garlic, cheese, or caramelized onions for savory variations.
- → How should I store the finished loaf?
Store at room temperature wrapped in a cloth or paper bag for 2–3 days. For longer storage, slice and freeze in airtight bags, reheating slices in a toaster or oven.