 Save
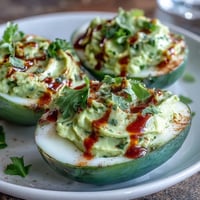
Save I discovered sushi bake on a lazy Sunday afternoon when my friend texted asking if I could make something impressive without leaving the kitchen. The idea of deconstructing sushi into a casserole felt like cheating in the best way possible, and honestly, it changed how I think about weeknight dinner. That first time, I stood in front of my oven watching the layers warm through, amazed that something so effortless could taste like I'd spent hours rolling and perfecting each piece. Now it's my go-to when I want sushi flavors without the precision and frustration.
The first time I made this for company, my sister arrived early and caught me panicking about whether the avocado would brown before serving. She laughed and said the casserole looked so good she didn't care about timing, and we ended up sitting at the counter talking for twenty minutes before everyone else showed up. That's when I realized this dish does something special—it brings people together in that easy, no-fuss way that good food should.
Ingredients
- Sushi rice: The foundation matters here; regular rice won't give you that subtle stickiness that makes sushi rice different. Rinse it thoroughly until the water runs clear, or you'll end up with a gummy mess.
- Rice vinegar, sugar, and salt: This trio seasons the rice with that signature sushi tang; don't skip the sugar because it balances the sharpness beautifully.
- Salmon fillet: Fresh and skinless is best; you'll get better texture and it flakes apart like you want instead of staying chunky.
- Soy sauce and sesame oil: These add that umami punch that makes you close your eyes when you take the first bite.
- Cream cheese and mayonnaise: Kewpie mayo is the secret weapon here because it's sweeter and richer than regular mayo, making the whole thing creamier.
- Sriracha: Optional but recommended for a subtle heat that sneaks up on you in the best way.
- Avocado: Wait to slice it until right before serving, or brown edges will ruin the visual appeal.
- Nori sheets: Cut into small squares so they're easier to eat and spread throughout every bite.
- Sesame seeds and spring onions: These finish the dish with texture and freshness that keeps it from feeling heavy.
Tired of Takeout? 🥡
Get 10 meals you can make faster than delivery arrives. Seriously.
One email. No spam. Unsubscribe anytime.
Instructions
- Prepare the rice foundation:
- Rinse your sushi rice under cold water, watching the water go from cloudy to clear—this step is what prevents that sticky, gluey texture. Cook it with the water ratio exactly as written, because sushi rice is finicky about moisture, and after it finishes, let it sit covered for that full ten minutes so the grains firm up.
- Season the rice:
- While the rice is still warm, fold in that vinegar mixture gently with a fork so you don't mash the grains. The warmth helps the rice absorb the seasoning, making every bite taste balanced instead of just tasting vinegary on top.
- Build the base layer:
- Spread the seasoned rice evenly into your baking dish, pressing gently so it forms a compact bed. Use a lightly greased dish or parchment paper so nothing sticks when you want to serve it.
- Bake the salmon:
- Season your salmon fillet and bake it until it flakes easily with a fork—the timing matters because overcooked salmon turns dry and flavorless. Once it's done, break it into generous flakes rather than tiny shreds so you get actual pieces of salmon in each bite.
- Make the creamy mixture:
- Combine the softened cream cheese, mayo, sriracha if you're using it, and lemon juice, then fold in that flaked salmon carefully. The lemon juice brightens everything and keeps it from tasting one-note creamy.
- Assemble and bake again:
- Spread the salmon mixture evenly over your rice layer and pop it back in the oven for just ten minutes—this is about warming everything through and creating a slightly golden top. Don't skip this step because it melds the flavors together instead of keeping them separate.
- Top with fresh toppings:
- Right before serving, add your avocado slices, nori squares, sesame seeds, and spring onions so they stay crisp and fresh-tasting. Wait until the last moment because avocado browns fast and nori gets soggy if it sits on warm rice.
 Save
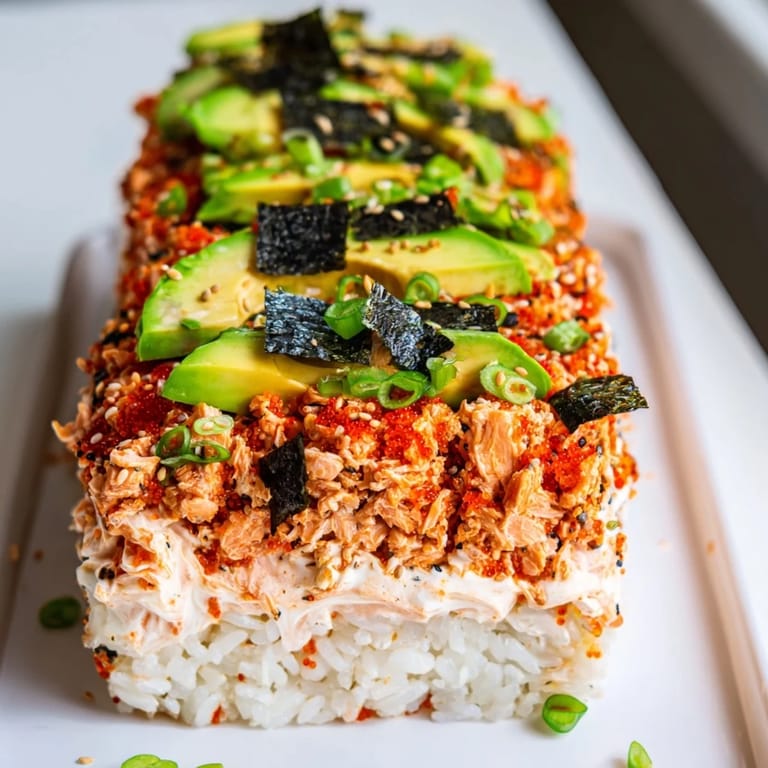
Save What surprised me most about this dish is how it became the recipe my friends actually request instead of the more complicated ones. There's something deeply satisfying about serving something that tastes indulgent but requires barely any skill, and that's what keeps me coming back to it.
Why This Works as a Casserole
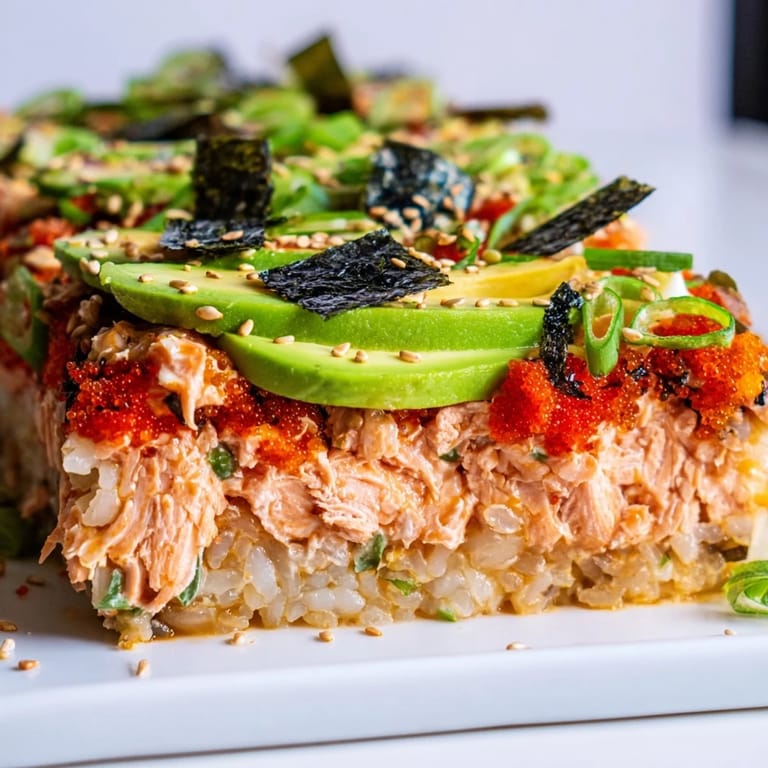
The genius of sushi bake is that it removes the pressure of hand-rolling while keeping everything you love about sushi intact. Layering instead of rolling means there's no frustration, no wasted ingredients, and honestly, more surface area for that creamy salmon mixture to shine through. It's what I make when I want the comfort of knowing it'll turn out beautiful every single time.
Customizing Your Sushi Bake
Once you nail the basic formula, this dish becomes your playground. I've swapped in crab meat when salmon felt boring, used cooked shrimp for something lighter, and even experimented with sriracha levels depending on the crowd. The rice and seasoning stay consistent, but the protein layer is where you can have fun and adapt based on what's in your fridge or what you're craving that day.
Making It Ahead and Storing Leftovers
This is the kind of dish that actually holds up well when made in stages, which is why it feels perfect for busy weeknights or meal prep. You can cook the rice and salmon in advance, refrigerate them separately, and assemble everything an hour or two before baking when you want it on the table. Leftovers stay fresh for about two days in an airtight container, though honestly, there are rarely leftovers in my house because people keep coming back for more.
- Prepare components ahead and refrigerate separately to save time on the day of serving.
- Assemble the casserole just before baking so flavors stay distinct and fresh.
- Keep toppings like avocado and nori separate until the very end, then layer them right before slicing.
 Save
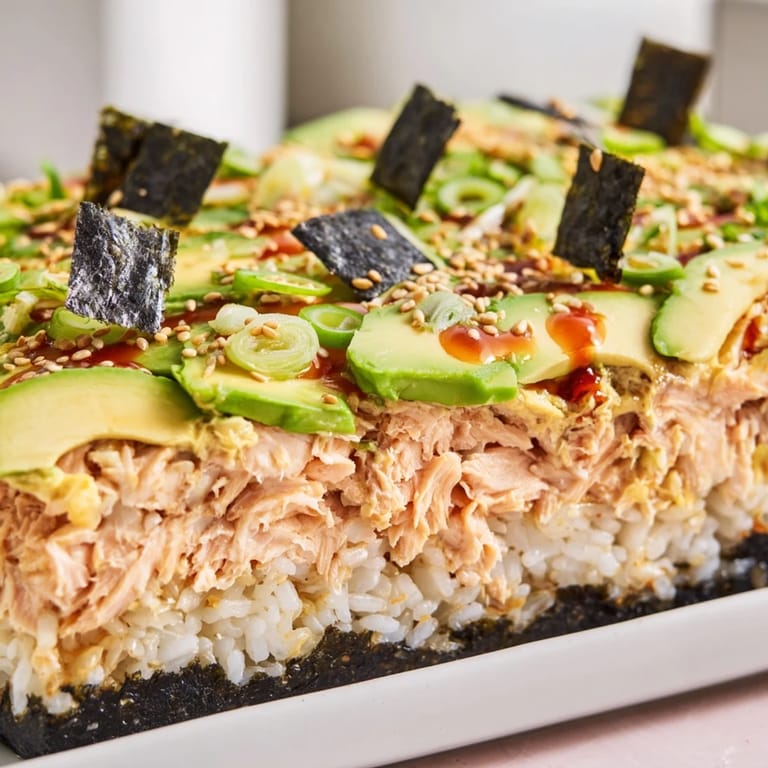
Save This recipe taught me that some of the best dishes are the ones that don't try too hard to impress, and that simplicity done well always wins. Make it for someone you care about and watch them light up when they realize how easy it was for you and how delicious it tastes.
Recipe FAQs
- → Can I substitute the salmon with other seafood?
Yes, cooked crab meat, canned tuna, or cooked shrimp can be used as alternatives for the salmon layer.
- → How is the rice prepared for this dish?
The rice is rinsed until clear, cooked with water, then mixed with rice vinegar, sugar, and salt before layering.
- → What is the purpose of nori in this dish?
Nori sheets are cut into squares and sprinkled on top to add a subtle seaweed flavor and texture contrast.
- → Are there any suggested serving accompaniments?
Soy sauce for dipping is traditional, with optional pickled ginger or wasabi to enhance flavors.
- → Can I make a lighter version of this dish?
Using light mayonnaise and reduced-fat cream cheese helps reduce calories while maintaining creaminess.