 Save
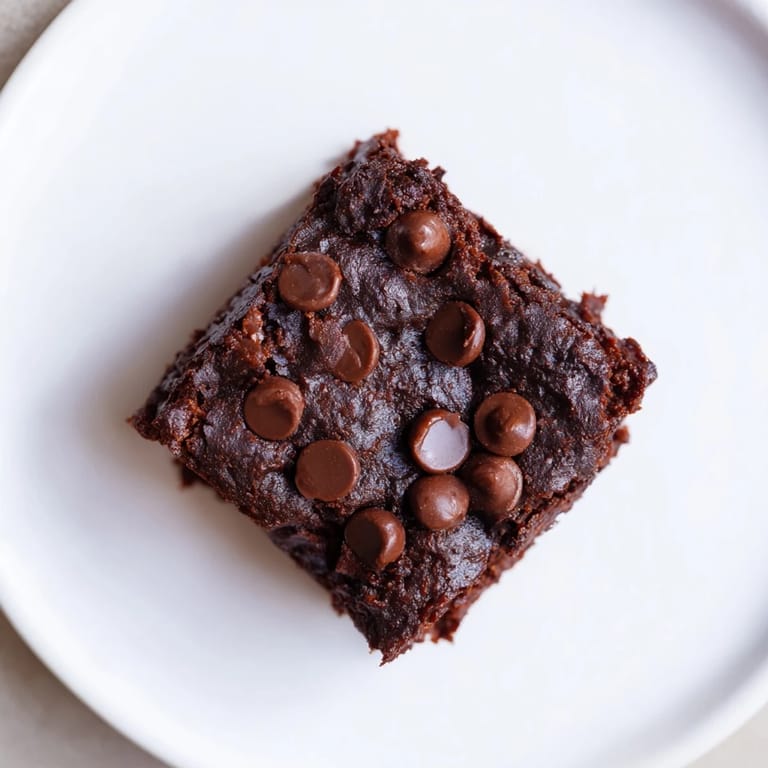
Save I discovered these brownies by accident one Tuesday afternoon when I had Greek yogurt that needed using up and a sudden chocolate craving I couldn't ignore. Instead of tossing it or making the same old brownies, I wondered what would happen if I stirred that tangy yogurt into the batter. The result surprised me—fudgy, deeply chocolatey, but somehow lighter than I expected, with a tender crumb that made my kitchen smell absolutely incredible. Now I make them whenever I want that guilt-free chocolate fix that actually tastes like a real treat, not a compromise.
Last month, I brought a batch to my neighbor who'd been dealing with a rough week, and watching her face light up over something she could actually eat without guilt reminded me why I keep making these. She ate three brownies while we sat on her porch, and for a few minutes, nothing else seemed to matter—just good chocolate and a friend who appreciated the effort. That's when I realized these aren't just brownies; they're a way to show someone you care without the after-guilt that usually follows dessert.
Ingredients
- Plain Greek yogurt (2/3 cup): The secret ingredient that keeps these brownies impossibly moist while adding protein and a subtle tang that deepens the chocolate flavor without tasting sour.
- Eggs (2 large): They bind everything together and add richness; room temperature eggs mix more smoothly into the wet ingredients.
- Unsweetened applesauce (1/2 cup): This replaces some of the oil to keep the brownie tender while reducing calories, and nobody can taste it—they just notice how good they are.
- Melted coconut oil or unsalted butter (1/3 cup): Use coconut oil for a slightly lighter texture or butter for classic brownie decadence; both work beautifully here.
- Vanilla extract (1 tsp): A small amount that amplifies the chocolate instead of competing with it.
- Unsweetened cocoa powder (1/2 cup): This is where the intense chocolate flavor lives; don't skimp on quality, and sift it to avoid bitter lumps.
- All-purpose flour (3/4 cup): Keeps the structure intact without making them cake-like or dense.
- Coconut sugar or brown sugar (1/2 cup): Coconut sugar adds a subtle caramel note; brown sugar is earthier and works just as well.
- Baking powder (1/2 tsp): A small lift that prevents them from becoming too dense, though not so much that they feel airy.
- Salt (1/4 tsp): Brings out the chocolate depth and balances the sweetness without tasting salty.
- Dark chocolate chips (1/2 cup): Melts into pockets of extra chocolate richness; choose 70% cacao or higher for a sophisticated flavor.
- Chopped walnuts or pecans (1/4 cup, optional): They add crunch and a nutty warmth, but honestly, the brownies are just as good without them.
Tired of Takeout? 🥡
Get 10 meals you can make faster than delivery arrives. Seriously.
One email. No spam. Unsubscribe anytime.
Instructions
- Prep your space:
- Preheat your oven to 350°F and line an 8x8-inch baking pan with parchment paper, letting the edges hang slightly over the sides so you can lift the whole batch out later. This small step saves you from crumbly brownie frustration.
- Combine the wet team:
- In a large bowl, whisk the Greek yogurt, eggs, applesauce, melted oil, and vanilla together until the mixture is smooth and the yogurt streaks disappear. You want everything completely incorporated so there are no pockets of unmixed yogurt hiding in your brownies.
- Sift the dry ingredients:
- In another bowl, sift together the cocoa powder, flour, sugar, baking powder, and salt—sifting breaks up any lumps in the cocoa and flour and makes the final texture smoother. This step takes two minutes and makes a real difference.
- Fold everything together gently:
- Pour the dry mixture into the wet ingredients and fold together with a spatula using slow, careful strokes until you don't see any dry flour streaks. Stop when the batter just comes together; overmixing toughens brownies.
- Stir in chocolate and nuts:
- Gently fold in the chocolate chips and nuts if you're using them, being careful not to break them apart. The chocolate will stay in distinct pieces rather than melting, which is exactly what you want.
- Into the pan:
- Pour the batter into your prepared pan and smooth the top with a spatula, then sprinkle extra chocolate chips across the surface if you want those melty pockets on top. Press them down slightly so they stay put during baking.
- Bake with confidence:
- Bake for 22 to 25 minutes—you're looking for the toothpick test, where a toothpick inserted in the center comes out with just a few moist crumbs clinging to it, not clean and not fudgy. If you see wet batter, give them another minute.
- Cool completely:
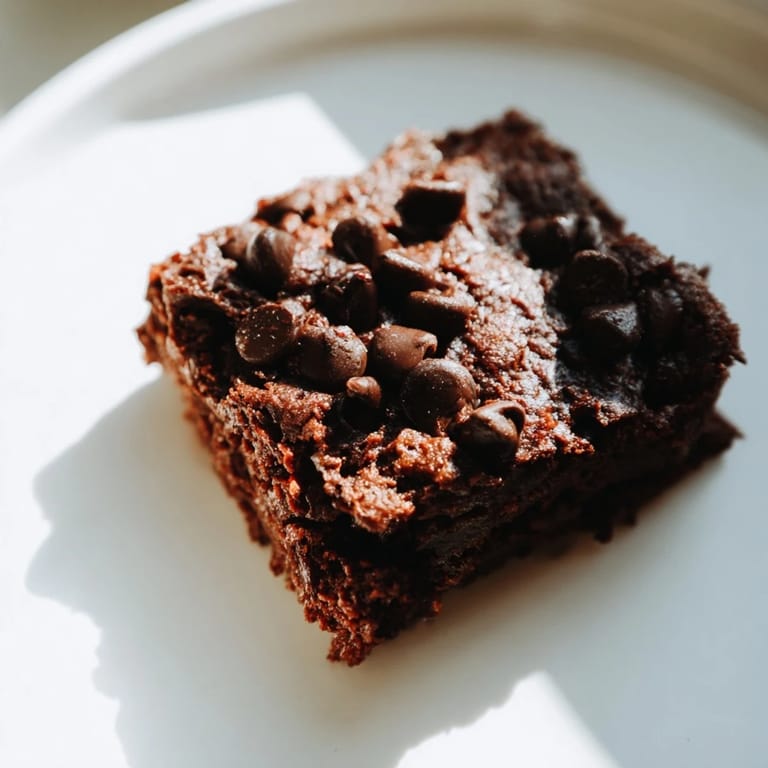
- Let the brownies rest in the pan until they're completely cool to room temperature before you cut them. Cutting them warm will crumble them apart, but once they've cooled, they slice cleanly into perfect squares.
 Save
Save I learned the cooling lesson the hard way when I got impatient and sliced into a pan that was barely warm, and the whole thing crumbled into a glorious chocolate mess that I ended up eating with a spoon anyway. Now I set a timer and go do something else while they cool, which gives me time to wash dishes or pour a cup of tea, and when I come back, they're set and perfect and ready to share or savor alone.
Making Them Higher Protein
If you're looking to bump up the protein content even more, add one scoop of chocolate or vanilla protein powder to the wet ingredients and reduce the flour by one-quarter cup to keep the texture balanced. I've done this on mornings when I want something more substantial than a regular brownie, and the flavor stays just as rich—the protein powder disappears into the chocolate without leaving any artificial taste behind. The brownie stays moist and fudgy, just with a nutritional boost that makes breakfast feel a little less guilty.
Customizing for Dietary Needs
These brownies are naturally nut-free if you skip the walnuts and pecans, and for a gluten-free version, swap the regular flour for a 1:1 gluten-free flour blend without changing anything else. I've made them both ways, and honestly, the difference is barely noticeable because the Greek yogurt and applesauce carry so much moisture and flavor. The texture stays tender and the chocolate shine through regardless of what substitutions you make.
Storage and Serving Ideas
Store them in an airtight container at room temperature for up to four days, where they actually get softer and more fudgy as the days go on—some say day two or three is peak brownie. You can also freeze them for up to two months, and they thaw beautifully without any weird texture changes. Serve them plain or with a dollop of Greek yogurt and fresh berries on top for a dessert that feels both indulgent and nourishing.
- A cold glass of milk or a hot cup of coffee is all you need alongside these—no fancy serving required.
- If you want to gift them, pack them in a box with parchment between each brownie and tie it with twine for something that feels homemade and thoughtful.
- They're just as good straight from the freezer on a random Tuesday as they are fresh from the oven.
 Save
Save These brownies remind me that simple ingredients and a little care can transform something ordinary into something people genuinely want to eat and feel good about eating. Every time someone takes a bite and realizes these are guilt-free, I see that same surprise I felt that first Tuesday afternoon.
Recipe FAQs
- → How does Greek yogurt affect the texture?
Greek yogurt adds moisture and creaminess while keeping the brownies fudgy and tender.
- → Can I use a different oil instead of coconut oil?
Yes, melted unsalted butter or any mild vegetable oil can be substituted without compromising flavor.
- → What’s the best way to check doneness?
Insert a toothpick into the center; it should come out with a few moist crumbs, not wet batter.
- → Are nuts necessary for this dessert?
Nuts are optional but add a pleasant crunch and nutty flavor if desired.
- → How should I store leftovers?
Store in an airtight container for up to 4 days or freeze for up to 2 months to maintain freshness.