 Save
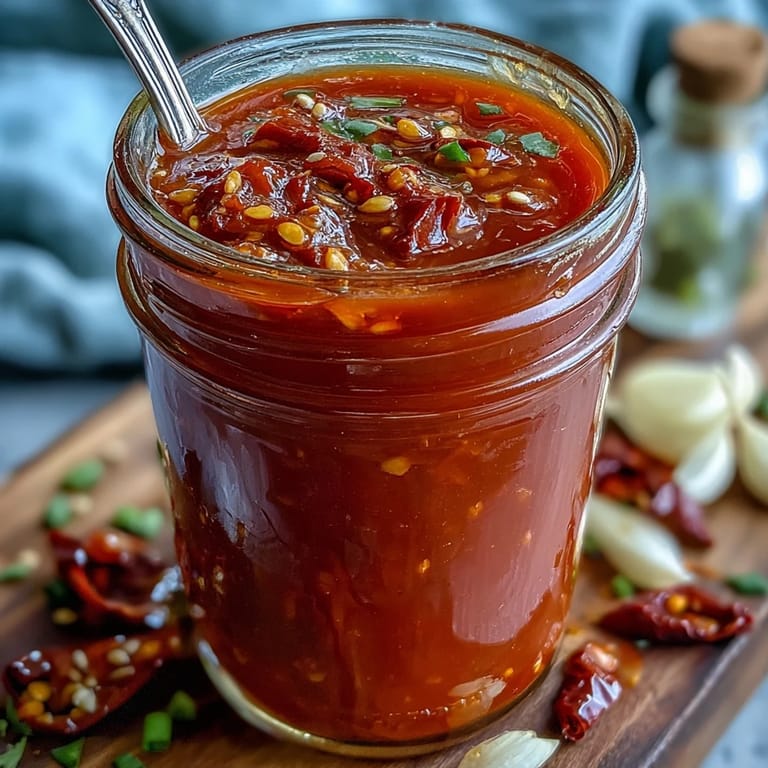
Save There&aposs something almost mischievous about tucking a jar of chopped chilis away in a dark cupboard, watching it bubble quietly over a week. The first time I made this fermented hot sauce, the sharp tang in the air mingled with the earthy scent of garlic and peppers, summoning curious glances from everyone who walked into the kitchen. I caught myself checking on it far too often, more like a hopeful gardener than a cook. Each morning, the briny fragrance seemed to deepen while the color turned richer, daring me to taste it before its time. The memory of my own impatience still makes me smile every time I drizzle this sauce.
One rainy afternoon, I brought out a batch for friends while we assembled tacos at the kitchen counter. The sizzle of steaming tortillas and the nervous laughter after sampling that first spicy drop turned dinner into an event. Someone suggested mixing the sauce into avocado, and that green-and-red mess became our new favorite thing.
Ingredients
- Fresh red chili peppers: The backbone of any good hot sauce—choose a mix of types for balancing heat and flavor, and always taste-test for desired spiciness.
- Red bell pepper: Adds natural sweetness and rounds out the heat, softening the fiery bite so the layers of flavor come through.
- Garlic cloves: Four whole cloves give a punchy depth; smashing them before chopping really coaxes out their character.
- Shallot or onion: Just a little gives aromatic lift; I&aposve found shallots to be subtler, but half an onion works in a pinch.
- Carrot: Optional, but I sneak it in for a soft, earthy finish and touch of sweetness—just peel and slice thinly to help it ferment alongside everything else.
- Filtered water: Using filtered water keeps wild flavors in check and ensures the fermentation goes cleanly—don't be tempted to use tap unless you&aposre certain it&aposs chlorine-free.
- Non-iodized salt: The real fermentation magic happens with the right salt; stick to sea salt or kosher and measure carefully for a safe brine.
- Apple cider vinegar: A final sharp note that brings the sauce to life—use white or rice vinegar for a more neutral profile if you like.
Tired of Takeout? 🥡
Get 10 meals you can make faster than delivery arrives. Seriously.
One email. No spam. Unsubscribe anytime.
Instructions
- Mix up the brine:
- Stir salt into filtered water until dissolved—taste it, and you&aposll notice it should be salty but not overwhelming.
- Chop the vegetables:
- Coarsely chop peppers, bell pepper, garlic, shallot or onion, and carrot (if using), letting the colors spill across the cutting board.
- Pack the jar:
- Layer all the veggies and aromatics into your clean glass jar, making sure there's some room at the top.
- Add the brine and weigh down:
- Pour the brine over until everything is submerged, then use a fermentation weight or little bag to gently keep the pieces down.
- Cover and ferment:
- Fit the jar with a loose lid or airlock setup and tuck it into a cool, dark space; if the weather&aposs humid, check it twice daily just to be safe.
- Keep an eye on it:
- As the days pass, peek in and skim away any hazy bits—don&apost worry, this is normal, just don&apost let them pile up.
- Blend it up:
- After 7 days, pour everything—veggies, brine and all—into a blender, add the vinegar, and blitz to your favorite consistency.
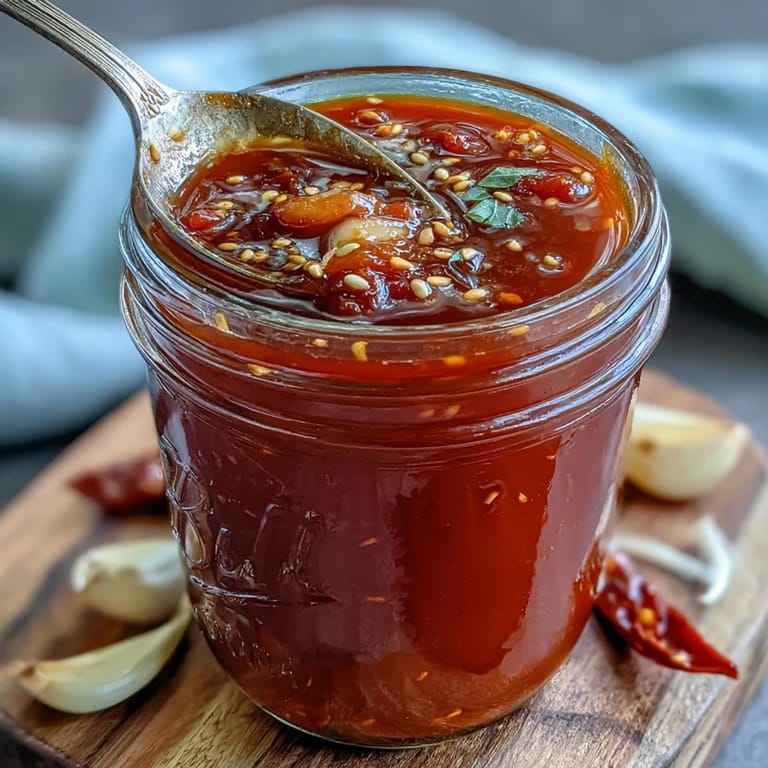
- Strain or don&apost:
- Push sauce through a fine-mesh sieve if you want it smooth, or leave it rustic with flecks of chili for extra character.
- Bottle and store:
- Transfer into sterilized bottles and chill in the fridge; the flavor will slowly deepen week by week.
 Save
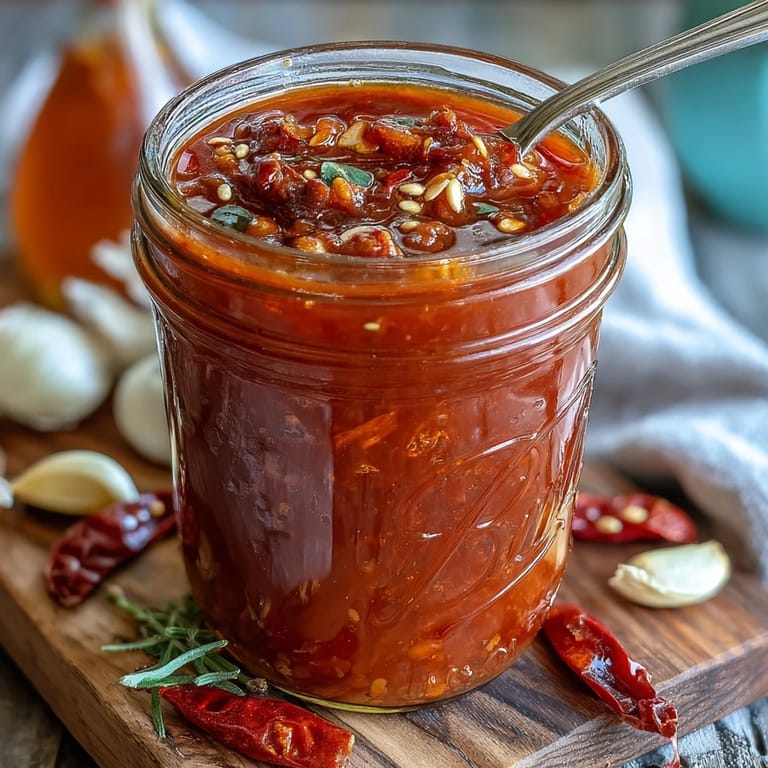
Save The first jar I cracked open fizzed softly and smelled like an invitation to summer barbecues, even though it was cold outside. That batch brightened up soups, eggs, and even homemade popcorn, transforming midnight snacks into memorable bites.
What to Expect During Fermentation
During the first few days, you&aposll notice little bubbles and a mild tang beginning to develop—the sign that your friendly bacteria are hard at work. Some batches seem almost sleepy for 48 hours, then suddenly go wild, so patience and daily check-ins are your allies.
Choosing Your Heat Level
Mixing mild and hot chillies is the safest route if you aren't sure how much fire you want in your sauce. I&aposve found that balancing fiery peppers with bell pepper and carrot keeps it punchy but never painful, and you can always toss in a seeded habanero if you&aposre feeling bold.
Easy Ways to Customize
This is where you get to play—toss a few black peppercorns or coriander seeds in with the veggies for aromatic complexity, or experiment with vinegars to push the flavor in a softer or brighter direction.
- A dash of smoked paprika adds warmth.
- Try lime juice for extra zing at blending time.
- Don't forget to label your jar; it's amazing how quickly you forget which hot sauce is which.
 Save
Save May your hot sauce never be boring, and may each spicy drizzle be a bold little spark in your meals. Happy fermenting!
Recipe FAQs
- → What salt ratio should I use for safe fermentation?
Use about a 2–3% salt brine by weight (roughly 1 tbsp salt to 500 ml water here). That level encourages lacto-fermentation, helps preserve texture and limits unwanted bacteria.
- → How do I prevent mold during fermentation?
Keep all solids fully submerged under the brine using a weight or a small bag of brine, check daily for scum and skim it off. Clean jars and utensils, and ferment in a cool, dark spot to reduce risk.
- → Can I adjust the heat level?
Yes — include milder chilies or remove seeds for less heat, or add habanero/Thai chilies for more punch. Blending with bell pepper and carrot also softens intensity and adds body.
- → How long should I ferment for flavor?
Seven days yields bright, tangy complexity. Longer fermentations deepen sourness and umami; taste periodically and stop when the acidity and flavor match your preference.
- → Should I strain the sauce?
Straining through a fine-mesh sieve gives a smooth pourable sauce; leaving it unstrained keeps a rustic texture and more body. Either approach works depending on your desired mouthfeel.
- → How long does the finished sauce keep?
Refrigerated in a sterilized bottle, the sauce keeps for several months. Flavor continues to evolve in the fridge; always sniff and inspect if stored long-term.